Creating Related Topics in FrameMaker
Related topics provide a list of other topics that may be of interest to the user viewing the current topic. For example, you could have a section called Creating Web Pages in your help. You may also have many other topics, such as HTML Tags and Cascading Style Sheets, that related to creating Web pages. Identifying these related topics for users can help them find the information they need and identify additional topics to consider. However, providing these types of links as cross-references within the content itself may not be the most efficient way to present the information. By utilizing related topics links, you combine the capabilities of cross-references with the efficiency of a related topics button.
Related topics and See Also links provide similar capabilities, but there are several important differences:
The Stationery designer can configure related topics to display in the following ways:
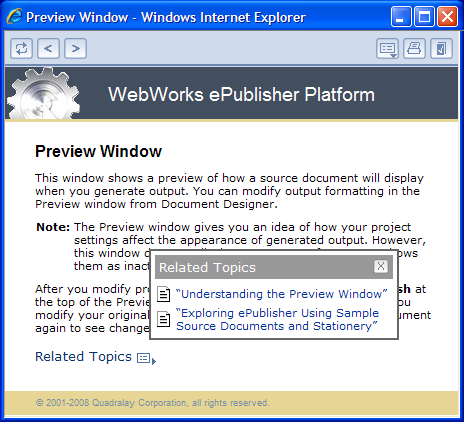
Note: If a related topic link is broken in the source document, in most cases that link is broken in the generated output. WebWorks Help and WebWorks Reverb provide an additional feature by removing broken links from related topics lists that are displayed in a popup window when a user clicks the Related Topics button.
To create related topics links, your Stationery and FrameMaker template must have a Related Topics paragraph style configured. Your output format must also support this feature.
The following procedure provides an example of how to create related topics links in Adobe FrameMaker source documents using unstructured Adobe FrameMaker 7.2. Steps for creating related topics links in Adobe FrameMaker may be different in other versions of Adobe FrameMaker.
To create a related topics list in an Adobe FrameMaker source document
1. Identify the topic in which you would like to insert a related topics list.
2. Identify the different topics you want to link to from this topic.
Note: Generally, you should only create one related topics list for each section of your source document that corresponds to a help topic. For example, if the Stationery designer specified in your Stationery that there will be a page break at each Heading 1 section, then you should only create one related topics list for each Heading 1 section within your source document.
3. Create a cross-reference to each topic you want to include in the related topics list by completing the following steps:
a. Insert your cursor in the location in your Adobe FrameMaker source document where you want to insert the link to the related topic.
b. On the Special menu, click Cross-Reference.
c. In the Document field, select the source document that contains the topic to which you want to link.
d. In the Source Type field, click Paragraphs.
e. In the Paragraph Tags field click the paragraph tag used by the topic to which you want to link.
f. In the Paragraphs field, select the topic to which you want to link.
g. In the Format field, select the format you want to use for the cross-reference.
h. Click Insert.
4. Apply the Related Topic paragraph format to the cross-references in your related topics list.
5. If you want to display the list of related topics in only your generated output, apply an OnlineOnly condition to the list of related topics. For more information about applying conditions, refer to Applying Conditions in FrameMaker.
6. Save your Adobe FrameMaker source document.
7. Generate output for your project. For more information, see Generating Output.
8. In Output Explorer, go to the page where you created the related topics list and verify that ePublisher created the related topics and that the related topics list displays the topics you specified. For more information, see Viewing Output in Output Explorer.
Last modified date: 11/30/2021