Customizing TOC Entry in Word
Use these steps to customize a TOC entry in your Reverb 2.0 output. Your Word file must have a nested heading structure for TOC Icons to appear.
1. In your Word document, click in or highlight the header that will have the customized TOC entry.
2. Click Markers from the Transit menu in Word.
3. Select TOCEntryClass.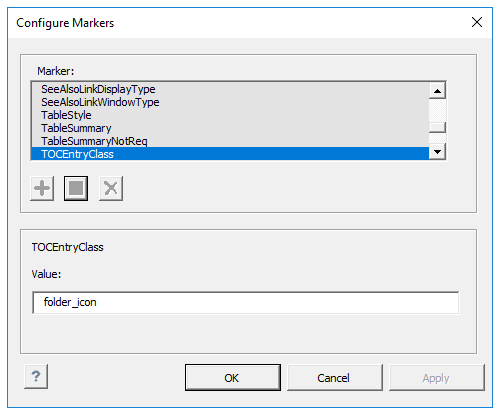
4. Give the TOCEntryClass a value. This value will become the class. In the example, folder_icon is used.
5. Save your Word Document.
6. Scan the document in ePublisher Designer.
7. Open the Style Designer.
8. Open Marker Styles.
9. Locate the Marker Type Option from the Options tab and set its value to TOC Entry Class.
10. In this example, the assigned class for the Menu TOC entry will be the value of the marker: folder_icon.
11. Add the following to a target override of _icons.scss. Notice how the CSS class is the name of the value given in the Marker Text Window. In this example we change the icon color and the icon of the TOC entry. You are able to make other customizations such as adding a border, or changing the background color.
			.folder_icon {
			  > div > span > i {
    color: black;
    &:before {
				      content: $folder_icon;
			    }
  }
			}
12. Save your project and generate the output.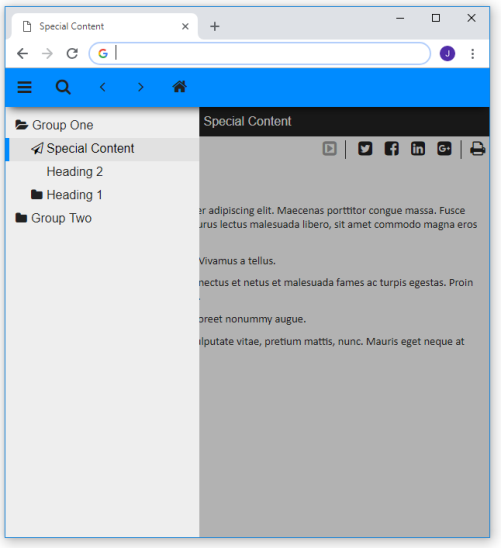
Last modified date: 12/09/2021